Monday 28 February 2011
Sunday 27 February 2011
Saturday 26 February 2011
Friday 25 February 2011
Thursday 24 February 2011
Wednesday 23 February 2011
Tuesday 22 February 2011
Monday 21 February 2011
Sunday 20 February 2011
Saturday 19 February 2011
Friday 18 February 2011
Thursday 17 February 2011
Wednesday 16 February 2011
Boat manipulation 47/365

a photomanipulation today :D Also an animation of it...

and the wizard from yesterday :D

Tuesday 15 February 2011
Monday 14 February 2011
Sunday 13 February 2011
home 44/365
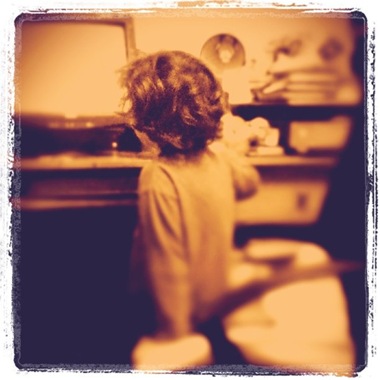
Taking a little break from my wizard tonight :D this was done on my Ipod :D i liked it - but it is a bit filtered :D
Saturday 12 February 2011
Friday 11 February 2011
Thursday 10 February 2011
Tuesday 8 February 2011
Monday 7 February 2011
Saturday 5 February 2011
Friday 4 February 2011
Thursday 3 February 2011
Comic Book style text Photoshop tutorial 34/365
I'm a huge fan of comics – not that I've been able to buy any in the last 5 years or so :( but I do love rereading my old ones. This had me thinking about the old style Pow's and Thwaks they used to put in fight scenes. I liked them, so I thought i'd show you a way of making them in Photoshop.
Step 1.
Go to http://www.dafont.com/badaboom-bb.font and download and install the font Badaboom, this is a fantastic comic font that I love. Also we want to download a cloud brush from http://simonrudd.info/brushes/. Next make a 1024x768 sized document inside Photoshop. Next using the Gradient Tool make a 50% grey to black gradient.
Step 2.
First set your foreground colour to white by pressing D followed by X on your keyboard, Select the Text Tool from the Toolbar and using the Badaboom font type KABOOM! I set my font size to 72 but you can choose what ever size you want.
Step 3.
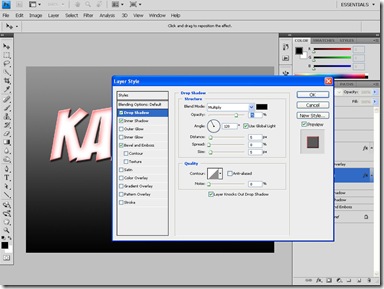
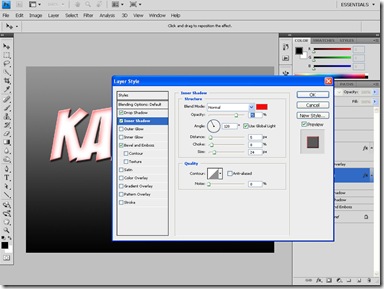
we now want to add a Layer style, go to Layer>Layer Style>Drop Shadow. Leave the settings as default, next add a Inner shadow style, set the colour to #f70a0a and the blending mode to normal. Increase the distance to 5, choke to 8 and size to 24. Finally add a Bevel and Emboss Style leaving the default settings.
Step 4.
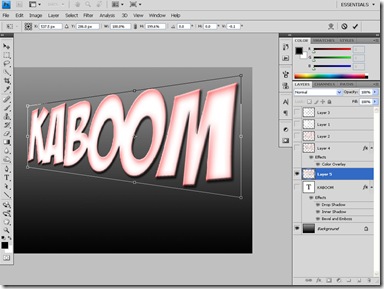
We now add a new Layer under the text layer and using Control and E merge the text layer and new layer together (First select the Text layer then merge). Select the now flattened text layer and go to Edit>Transform>Perspective. Grab the top right hand anchor and pull it up so the right hand side is larger than the left.
Step 5.
Now duplicate the Text Layer using Control & J, This layer is going to be a sort of shadow. First we hide our original text layer by pressing the eye icon in the layer window. Next we want to make it black, the easiest way of doing this is to add a Colour overlay Layer style (Layer>Layer style>Colour Overlay) set to black. Then we unhide the original text layer.
Step 6.
Finally we use the cloud brush we downloaded in step one, on a new layer brush in some clouds around the word. Make it thicker towards to beginning of the word and less at the end :)
Hope you liked the tutorial and please feel free to visit my website :)
Wednesday 2 February 2011
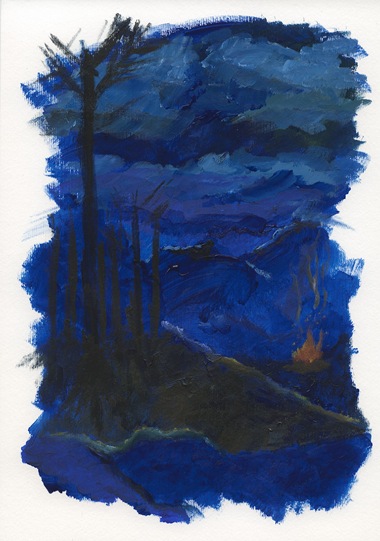
Night Scene 33/365
This is pretty much the result of slapping some paint down and seeing where it evolved :D Acrylics on Paper 7"x10"


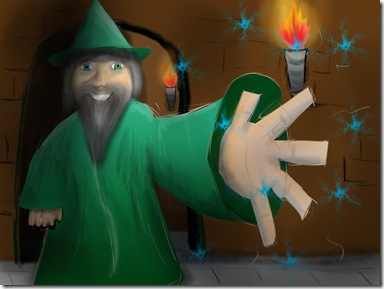



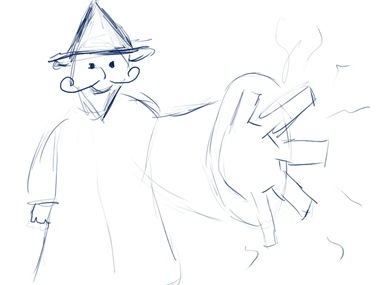

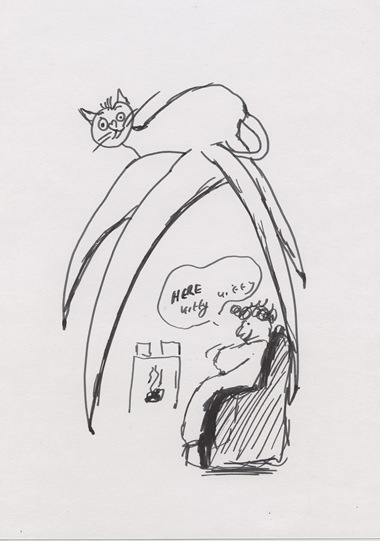


 Trying out artrage - its a bit "stiff" but fairly cool :D