Thursday 31 December 2009
Internet free / Happy New years Eve
Wednesday 30 December 2009
Tuesday 29 December 2009
Monster Tutorial
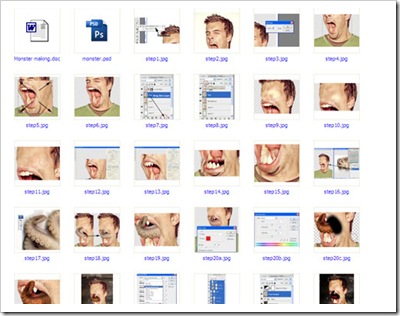
been working on a tutorial for a website – there are 32 steps so a hell of a lot of print screens :D pop over to tutdojo for the tutorial.
Monday 28 December 2009
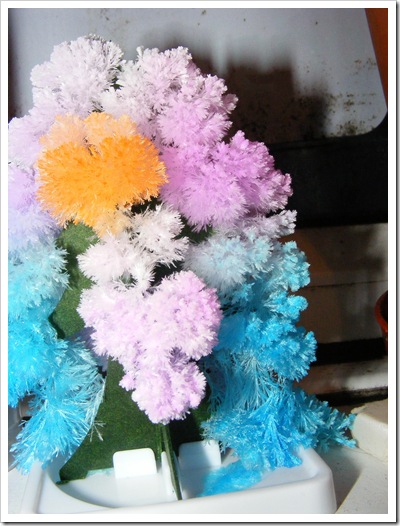
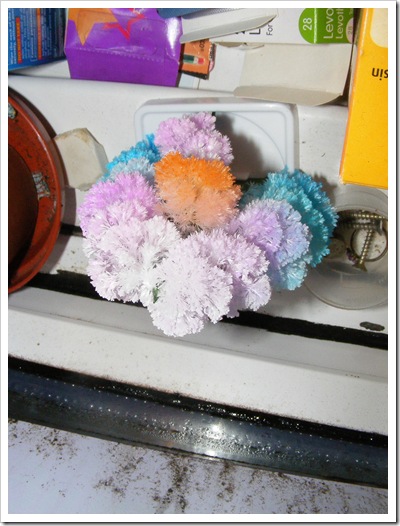
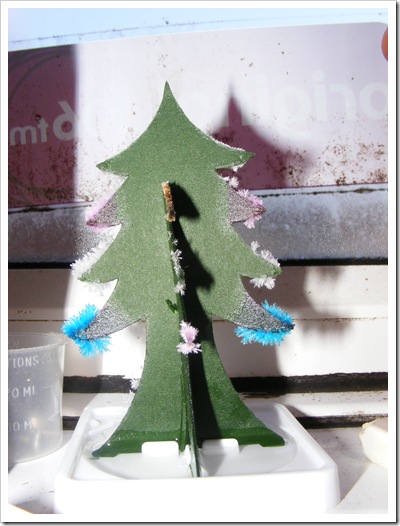
Crystal tree
My sister got me a crystal tree for Christmas…
Spent a lot of time today changing my blog design – in the end i realised i didn't like it and reverted it back to norm :)
Sunday 27 December 2009
Saturday 26 December 2009
Friday 25 December 2009
Thursday 24 December 2009
Wednesday 23 December 2009
Tuesday 22 December 2009
Monster tutorial
Spent most of today writing a tutorial for a new Photoshop Tutorial site (http://tutdojo.com/) – so far so good but its taking quite a lot of time to write it.
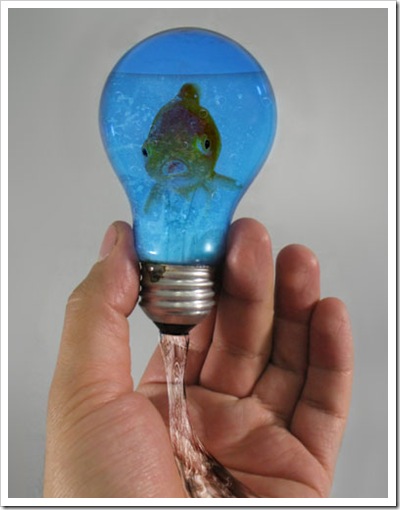
As i’ve not had time to make anything today i will just drop a sample image from the tutorial here…
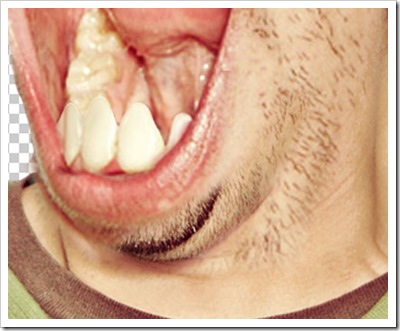
will update with more information when i have it :D
Monday 21 December 2009
Snow Text tutorial
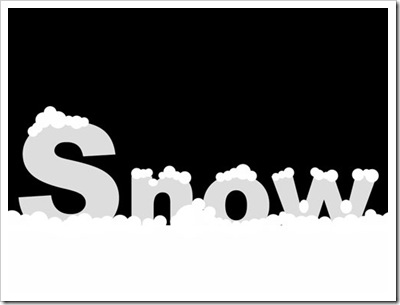
As it’s almost Christmas I’m going to show you how to make a quick and easy snow text effect using the ellipse tool.
Step 1
Make a new Photoshop document – I’m using 1024x768 but please feel free to use what ever you want. Set the back ground to black.
Step 2
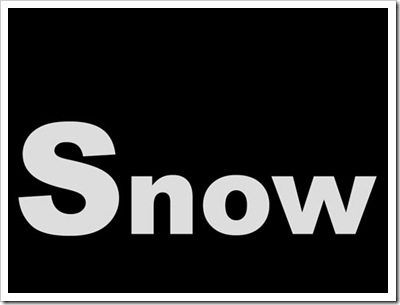
Choose the Text Tool and set the font to Arial Black size around 100 and type “Snow”, I then highlighted the “now” bit and lowered the size to 72. For the colour I used a light grey #dddddd.
Step 3
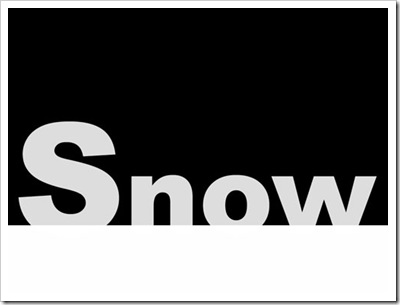
Choose the rectangle tool and draw out a rectangle the slightly covers the bottom of the text. Set the colour to White #ffffff.
Step 4
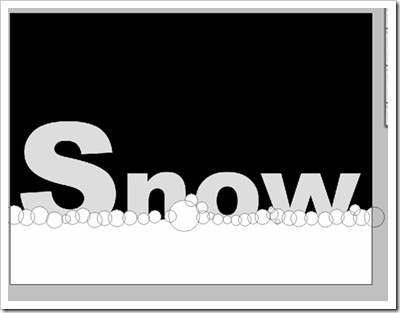
Choose the ellipse tool and while holding shift draw out a lot of circles at the bottom of the text like in the picture.
Step 5
Do the same at the top of the text
Step 6
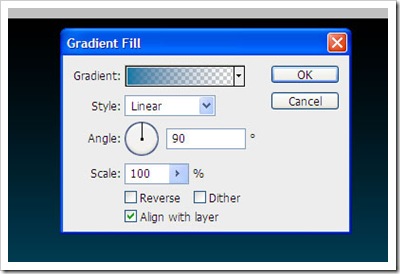
First set your foreground colour to # 0076a3 then make a new Gradient Layer – Layer > New Fill Layer > Gradient above the background layer. Set the gradient type to foreground to transparent, angle 90 degrees. As in the picture
This should give us this
Hope everyone has a great Christmas
Visit my website – http://www.simonrudd.info
Follow me on twitter @revjesse
Sunday 20 December 2009
Saturday 19 December 2009
Friday 18 December 2009
Thursday 17 December 2009
Wednesday 16 December 2009
Tuesday 15 December 2009
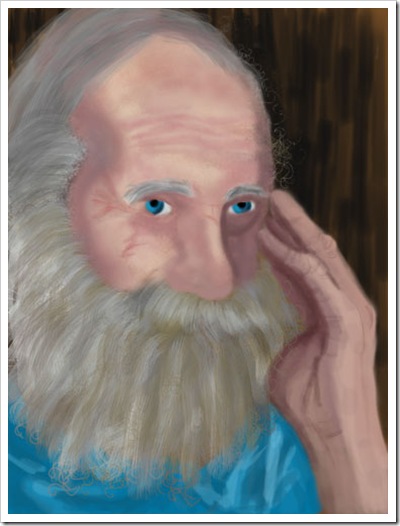
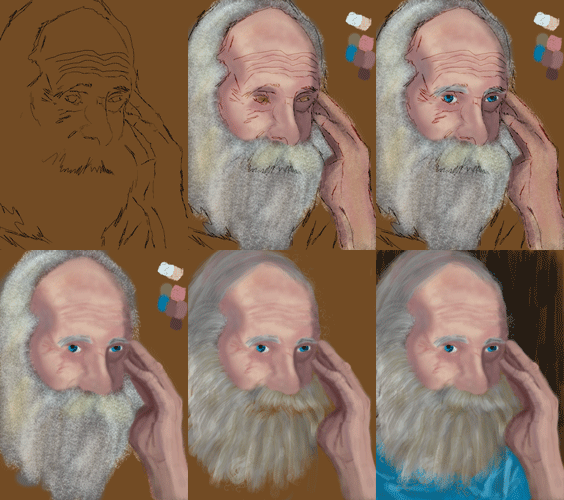
Portrait of an old man
Based on a picture from http://www.sxc.hu/photo/1222630 chalk brush and soft edged brush took about 4/5 hours
Monday 14 December 2009
Changing the mood of a photo
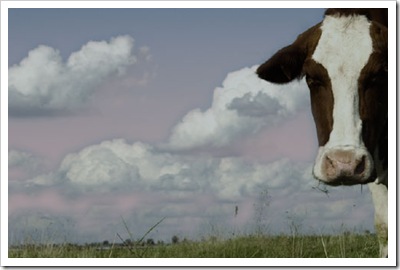
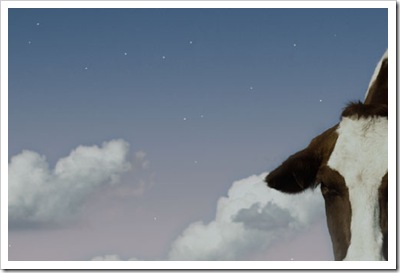
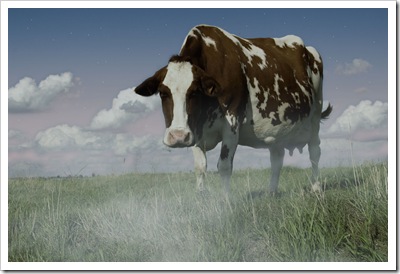
We can do a lot of powerful things with Photoshop – in this tutorial we will change the mood and feel of a photo so it appears to be early morning rather than the middle of the day.
Step 1
Download this photo from Sxc.hu - http://www.sxc.hu/photo/1234595 and bring it into Photoshop. Now the cow and field is pretty bright so we want to reduce the brightness and saturation a bit. Above the Cow Layer add a new Hue / Saturation Adjustment Layer (Layer > New Adjustment Layer > Hue / Saturation. Reduce the Saturation to – 24 and the Lightness to -16.
Step 2
The Photo is still a little bright so we add an additional Hue / Saturation Adjustment Layer above the last one. This time click the Colourize button in the bottom right, next change Hue to 198, Saturation to 25, and leave Lightness at 0. Click okay and change the Blending Mode in the Layer Palette to Multiple, set the opacity to 48%.
Step 3
Next we are going to change the sky a bit – grab the Magic Wand Tool and set tolerance to 32 and uncheck Contiguous. Click on the blue sky so it is all selected but the clouds are not.
Step 4
With the Selection still in place we add a Linear Gradient - Layer > New Fill Layer > Gradient >
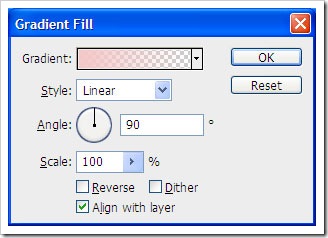
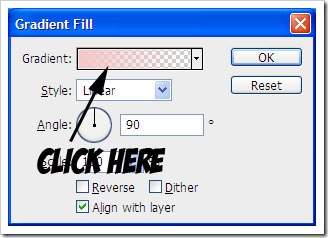
Then click the gradient at the top of the window – it may look different to the one here.
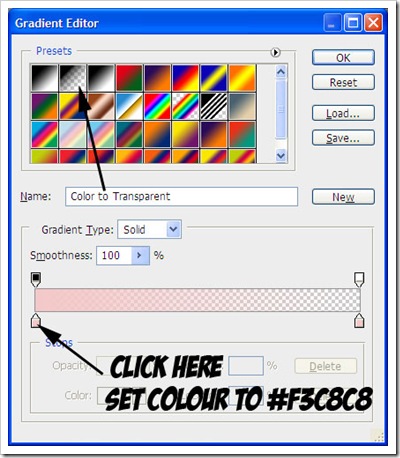
Next Click the Colour to Transparent gradient type; we need to change the foreground colour by clicking the Lower Left hand arrow followed by the colour picker, which is just below the arrow. (As in the picture below) and change the colour to #F3C8C8
This will make a gradient only in the bits we selected earlier; automatically masking out the bits we don’t want
Step 5
Drag the Gradient Layer below the two Hue / Saturation adjustment Layers, the sky and the clouds will look a little bit to rough and don’t blend that well
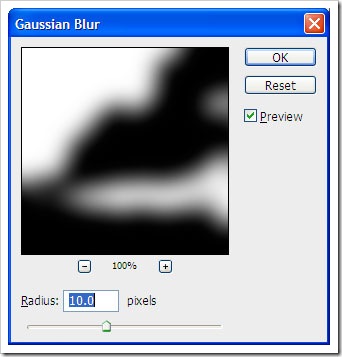
So we want to blur the Gradients mask, we do this by Selecting the mask and going to Filter > Blur > Gaussian Blur and setting the amount to around 10 pixels.
This should give us an effect like this
Step 6
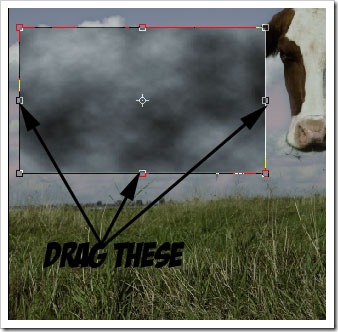
Make a new Layer Called Mist and reset to the default Colours by Pressing D on the Keyboard. Next Grab the Rectangle Marquee Tool and draw out a small square. Then Fill this with Clouds. Filter > Render > Clouds.
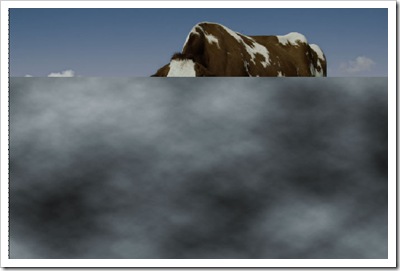
And pull the anchors to fill the bottom part of the window.
Step 7
Drag the Layer below the Hue / Saturation Layer and set the blending mode to screen. Next we want to add a Layer Mask to this Layer – Layer > Layer Mask > Reveal All >. Select the Gradient tool from the tool box, set the gradient type to black and white and drag a gradient out from the top of the grass to the clouds.
Step 8
Make a new Layer at the top of the stack called Stars, choose a 1 pixel hard edge brush and set the foreground colour to white. Now spot some stars over the sky.
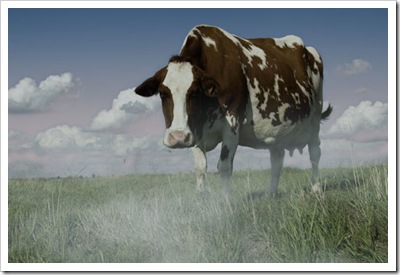
This is what we have in the end.
Follow me on twitter @revjesse
Website – http://www.simonrudd.info
