Monday 31 August 2009

Creating an (basic) eye in Photoshop

Originally written for Tip Squirrel

Creating an eye in Photoshop.

Summer holidays are hard, you expected to go out all the time and wander around parks and shops :( this has impacted my finances far to much as such i'm thinking about selling some of my bodily organs. lets face it - i have two of most things :D i think i'll put an advert in my local shop "eye for sale!" £5 ONO :D what do you think?? Either that or I’ll add a paypal button to my blog :D

Step 1

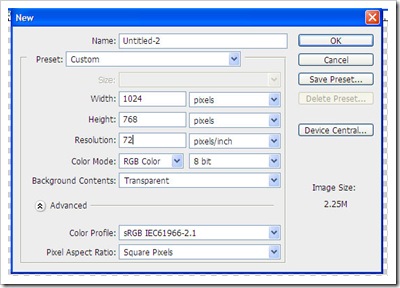
Make a 1024x764 sized document with a transparent background.

step1

Step 2

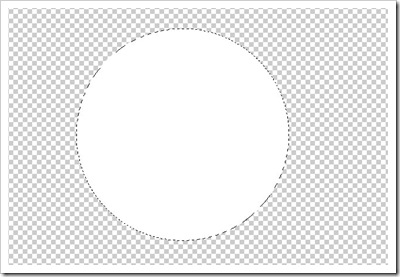
Select the Elliptical Marquee tool and while holding the Shift Button draw out a perfect circle on our transparent background. Next press D followed by X on the keyboard to make the foreground colour white. Hold Alt and press the Backspace keys (or Edit > Fill > White) to fill this selection with white. Name this layer "whites"

step2

step 3

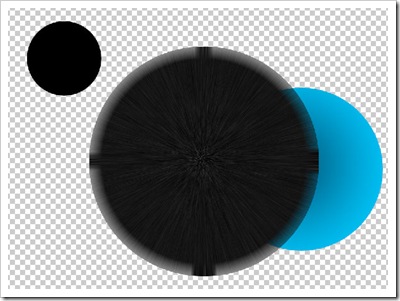
Make a new layer named Iris above your whites layer, create a smaller Elliptical Marquee - dont worry about lining it up with the white as we can use the align function later. Choose a dark blue (#006085) for the foreground and a light blue (#00baed) for the background, next choose the Gradient Tool and select the radial gradient. Draw from the centre of the selection to the edge of the selection with the gradient tool, to produce a nice gradient.

step3

step 4

Make a new layer above the Iris Layer names Iris 2, next hold Control and Left Click the Whites Layer icon in the Layer Palette. This will place a large selection - as big as the white selection on the Iris 2 Layer. Fill this selection with Black (Edit > Fill > Black) or Press D followed by Alt and Backspace.

step4

Step 5

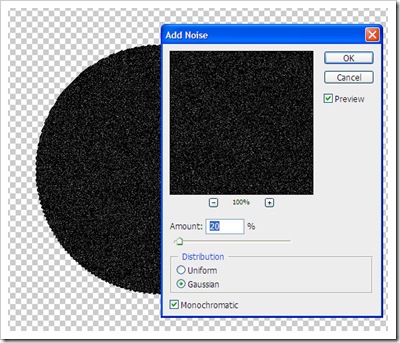
With the selection still in place add some noise to the iris 2 layer - Filter > Noise > Add Noise 20%

step5

Step 6

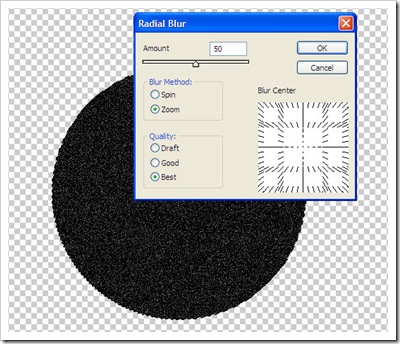
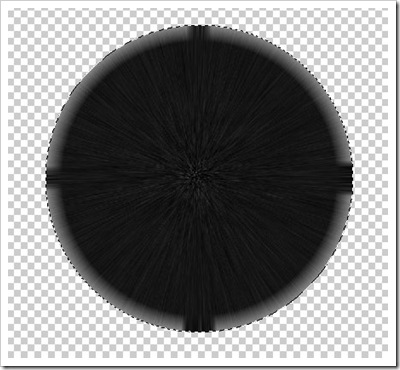
Next (with the selection still active) choose Filter > Blur > Radial Blur > Blur Method - Zoom, Quality - Best, Amount -50%.

step6

giving you a effect like this

step6a

Step 7

Make another new Layer called Pupil and draw a smaller circle as before, fill this with black. Press Control and D to deselect the selection

step7

Step 8

in the Layer Palette select the pupil Layer and while holding shift click the whites Layer, this should select all of the layers. Next choose the Move Tool from the toolbox. In the options bar a number of icons should have appeared - first click the "align Horizontal Centers" icon (5th icon in) then click the "align vertical centers" (2nd icon in). This should align everything.

step8 step8a

step 9

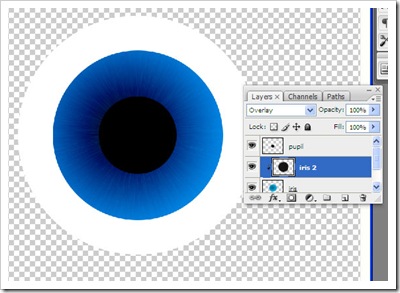
Choose the Iris2 Layer and clip this to the Iris Layer (Layer > Create Clipping Mask) and set the blending mode to Overlay.

step9

step 10

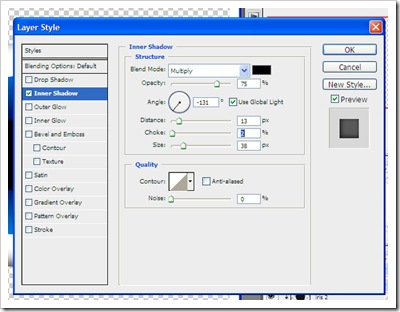
We will now odd an inner shadow to the Whites layer to give it a 3D look. First Select the Whites Layer and click the small fx icon at the bottom of the Layers Palette. Next choose Inner shadow. change the angel to -131, distance to 13, choke to 2 and size to 38.

step10

Giving you an effect like this

final limes

you can download the psd file from - http://rev-jesse-c-stock.deviantart.com/art/eye-psd-file-133544912

Hope you enjoyed the tutorial - please feel free to contact me at Mail@simonrudd.info if you have any questions or wish to show me what you've made

http://simonrudd.info/ (Please go here if you wish to contact me for work)

http://afictitiouslife.blogspot.com/ (My Blog updated daily)

http://www.pompeysworst.co.uk/ (more of my tutorials here)

Sunday 30 August 2009

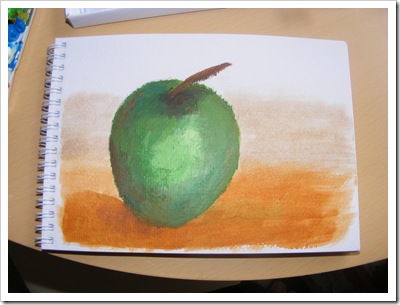
I’z been Painting

2009_08300454

Friday 28 August 2009

Severed Arm tutorial


I just found my severed arm tutorial up on PSDtuts.com - woop! :D have a look at - http://psd.tutsplus.com/tutorials/photo-effects-tutorials/how-to-create-a-severed-arm-in-photoshop/#comment-156892 :D

Saturday 22 August 2009

Selsey Simon

No new pics for a few days - not until I can get myself into gear (or remember my data key) and post some :D i've been working on my proposal for a book - got lots to go - but done my CV :D

Tuesday 18 August 2009

Purple Lady

3736346429_40ffebe1d8 Big congrats to my friend Saz who was one of the finalists in the Scott Kelby Photo walk-about.  she won a stack of prizes for the photo opposite :D  please have a look http://www.flickr.com/photos/dm-set/3736346429/ at the original :D

Monday 17 August 2009

More Park Pics

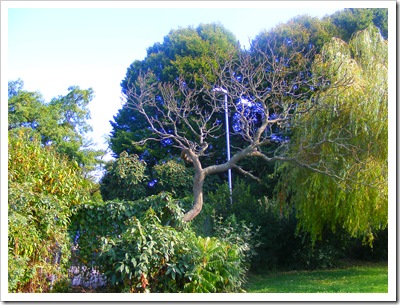
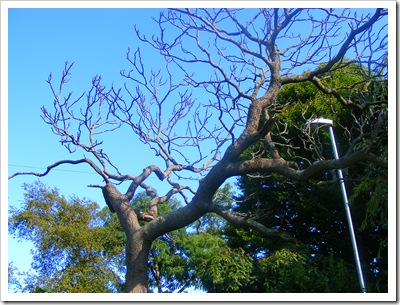
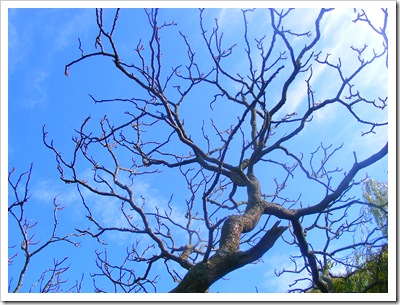
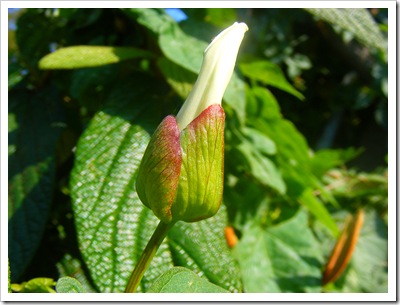
2009_08170005 tree close crop copy 2009_08170043 2009_08170046 2009_08170004

A few more photos

2009_08160037 2009_08160051 2009_08160019 2009_08160021 2009_08160026 2009_08160031 2009_08160032 2009_08160033 2009_08160034 2009_08160035 2009_08160036

Sunday 16 August 2009

I’m a Photographer not a…

phnat-logo-black-on-white-212x300 I just read this interesting article about photographers being stopped and being accused of terrorist activities. I know theses days we have to be careful – but it does seem to be going over the top a bit. I was once stopped from taking photos of the police on their horses, which was a shame as we don’t get a lot of horses in Portsmouth :D It was just before a big football match where they were obviously expecting a lot of trouble, I guess one man and a camera was far more terrifying then the 1000 screaming morons coming out of the football pitch chanting that their team won / lost.

Check it out here http://photographernotaterrorist.org/

Saturday 15 August 2009

So busy….

What a day – things are really hectic here at the moment – i really can’t wait for summer holidays to end….! I’ve been trying to think of some tutorials for my book proposal, i’m not sure how many i will need -  have 26 “ideas” so far.  probably come up with a few more :)

Friday 14 August 2009

The Genesis of Shannara

I like Terry Brooks’s books a lot – i read the Shannara series a long time ago and really enjoyed them – reading the second series of books quite a few times (The Heritage of Shannara).  I also brought his Void/word books – but could never et into them.

I just started reading the Genesis of Shannara which seems to tie the void/word books and the Shannara series together,  i’m enjoying it so far – but am only on the fifth chapter – so lots to go :)  there are three books in the series.

Thursday 13 August 2009

Wednesday 12 August 2009

Gun wharf

2009_08120046 2009_08120005 2009_08120008 2009_08120010 2009_08120013 2009_08120020 2009_08120033

Tuesday 11 August 2009

Tip Squirrel Week 4

Creating a graffiti wall with actions

I had some good feedback on last weeks tutorial, especially the use of the built in actions that come with Photoshop - this week I will be showing you another trick using actions.

Step 1.

Open Photoshop and create a new document, i'm going to use 512x768, the technique we will be using will double the size of the document, so we will end up with a 1024x768 size picture.


Step 2

Next, like last week we want to access the actions textures, go to the actions palette and locate the Textures -See the picture below. This will give you access to the texture actions.


Step 3

First choose the ink blots action and press the play button to execute it.


giving you a pattern like the one below...


step 4

Next choose the sunset texture action, run this action like before. set the blending mode for this layer to screen.


step 5

Next choose the Marbled Glass texture leaving the blending mode to normal.


Step 6

We now choose the bricks action setting the resulting layer to multiply


step 7

The final action is to choose the rippled oil action setting the result to overlay with a fill of 40%


because these actions are random - each wall will look different :)

Step 8

Next we want to download a graffiti font - go to http://www.dafont.com/graffiti-keny.font and download the font - to install the font follow the instructions here http://support.microsoft.com/kb/314960.

Choose the Text Tool from the Toolbox, size to 72pt (change this if you want bigger or smaller text) and set the foreground colour to white and type whatever you want on your wall. Finally set the fill to 35%.


step 9

We want to decorate the text, we use some layer styles. First choose Outer Glow (Layer > Layer Styles > Outer Glow) and leave the default settings. Then we choose the Inner Glow (Layer > Layer Styles > Inner Glow) setting the blending mode to normal and the colour to black. Finally we select Gradient Overlay (Layer > Layer Styles > Gradient Overlay) Choose the spectrum gradient, set blending mode to overlay and click OK.


step 10

Finally make a new Layer at the top of the Layer Stack called Grass, choose the Grass brush from the brush picker and with a foreground set to yellow #a29d18 and a background set to green #197b30 and paint in some grass around the bottom of the wall.


That's about it, please feel free to play with the settings and see what you can produce - as always i'd love to see your results, if you have an comments - please e-mail me at simonrudd@gmail.com

copywrite (C) Simon Rudd 10 August 2009, please don't reproduce with prior consent :D

http://simonrudd.info/ (Please go here if you wish to contact me for work)
http://afictitiouslife.blogspot.com/ (My Blog updated daily)
http://www.pompeysworst.co.uk/ (more of my tutorials here)